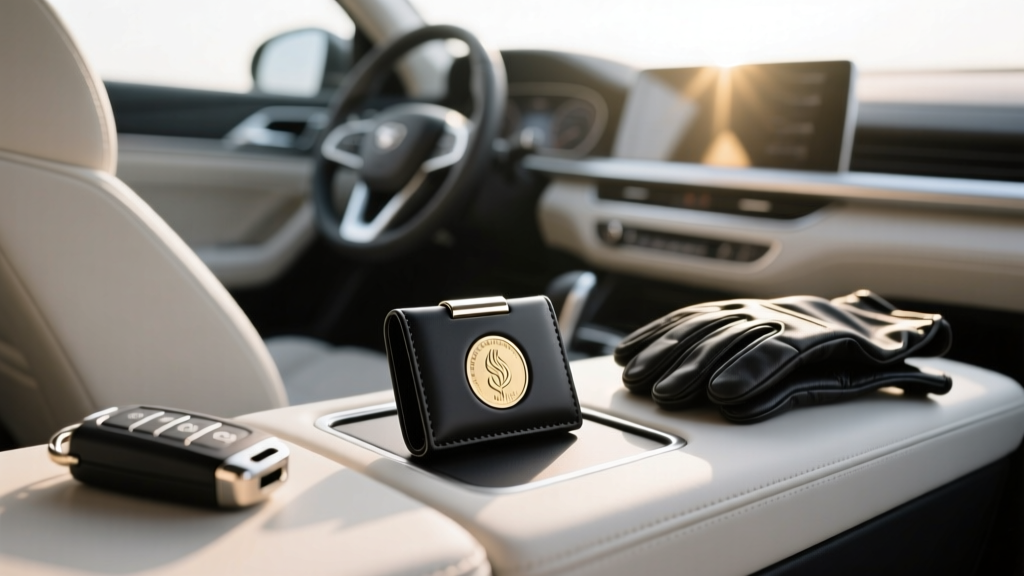
Coin Holder Installation Protection (2026)
A coin holder seems like a small upgrade?until it rattles, pops loose in summer heat, cracks a trim panel in winter, or leaves sticky residue behind when you try to remove it. Because it sits in a high-touch, high-temperature-swing area (center console, dash, door pocket, or near cup holders), a coin holder is one of those accessories that quietly tests your interior?s durability all year long.
This guide walks you through coin holder installation with a focus on seasonal protection: preventing adhesive failures, avoiding trim damage, stopping squeaks and rattles, and keeping your interior looking factory-fresh. Whether you?re installing an adhesive-mounted coin holder, a clip-in coin organizer, or a universal console insert, you?ll get practical, step-by-step methods that work in real cars?not just in perfect garage conditions.
If you?ve ever had a dash accessory slide off during a heatwave or struggled to peel foam tape off textured plastic, you?re in the right place. A clean install is mostly prep, placement, and choosing the right mounting approach for the season you?re in.
Why Seasonal Protection Matters for Coin Holder Installation
Car interiors are tough, but they?re also sensitive to temperature, UV exposure, and humidity. A coin holder installed flawlessly in spring can fail in the middle of summer or during a freezing winter morning.
What changes across the seasons
- Summer heat: Adhesives soften, plastics expand, and interiors can exceed 140�F (60�C) in direct sun. Cheap tape can ?creep? and slide.
- Winter cold: Plastics contract and become brittle, adhesives don?t bond well below ~50�F (10�C), and clips can crack trim.
- Humidity and rain: Moisture affects surfaces and can weaken some adhesives over time?especially on textured plastics.
- UV exposure: Sunlight degrades plastics and adhesive edges, leading to lifting and discoloration.
Real-world example
A common scenario: a driver installs an adhesive coin holder on the center console in July. It holds for a week, then gradually slides toward the cup holder because the tape softened. The owner presses it back down repeatedly, which traps dust at the edges and makes the bond worse. By September, it?s loose and the console surface has a dirty outline.
Choose the Right Coin Holder Type for Your Car and Climate
Before you install anything, pick a coin holder that matches your interior materials and your seasonal conditions.
Common coin holder styles
- Adhesive-mounted coin holder: Easy install, flexible placement. Best with high-quality automotive tape and proper surface prep.
- Clip-in coin holder: Clips into a seam, vent slat, or pocket edge. Fast, removable, but can scratch trim or loosen over time.
- Console insert coin organizer: Drops into a console bin or cup holder slot. Usually the most interior-friendly (no tape), but fit depends on your vehicle?s storage design.
- Replacement panel coin holder: Vehicle-specific parts that replace a blank switch panel or insert. Most OEM-like, typically the cleanest finish.
Quick recommendations by environment
- Hot climate / lots of sun: Console insert or replacement panel preferred. If adhesive-mounted, use 3M VHB and mount on a flatter area away from direct sunlight if possible.
- Cold climate: Console insert or adhesive with careful warming and curing time. Avoid aggressive clips on brittle winter plastics.
- Humid/rainy areas: Avoid low-grade foam tapes. Use VHB or a textured-surface-rated tape and focus on degreasing.
Tools and Materials for a Clean, Protected Install
You don?t need a full detailing cart, but you do need the right basics to protect your interior trim and ensure the coin holder stays put.
Recommended tools
- Isopropyl alcohol (IPA) 70%?91% and clean microfiber towels
- Painter?s tape (for positioning guides)
- Plastic trim tool or an old credit card (for gentle pressing)
- Heat gun on low or a hair dryer (for cold weather installs)
- 3M automotive-grade double-sided tape (VHB 5952 or similar)
- Adhesive remover safe for interiors (citrus-based or dedicated automotive)
- Optional: adhesion promoter (used sparingly, only if needed)
Surface compatibility checklist
- Smooth plastics: Usually easiest for tape bonding.
- Textured plastics: Harder to bond?needs strong tape and firm pressure.
- Leather/vinyl-wrapped surfaces: Avoid most adhesives; use inserts or clip-in designs to prevent staining or peeling.
- Soft-touch coatings: Be cautious?some adhesives can lift the coating on removal.
Best Placement: Functional, Safe, and OEM-Looking
The ?best? spot is where you can reach coins without looking, without interfering with airbags, shifters, or cup holders.
Smart placement ideas
- Inside the center console bin (insert-style organizer)
- On the side wall of the center console near the driver?s knee (adhesive, if surface is flat)
- Inside a door pocket (insert-style, avoids adhesives)
- Near the shifter base (only if it won?t block movement and isn?t in a high-heat sun patch)
Placement zones to avoid
- Airbag deployment areas: Passenger dash, A-pillars, steering wheel area, and side curtain zones.
- High-heat glass line: Top of dash near the windshield often cooks adhesives.
- Controls and charging ports: Avoid blocking USB ports, buttons, seat heater switches, or HVAC knobs.
- Areas that get kicked: Lower console panels can get scuffed by shoes.
Step-by-Step: Seasonal-Proof Coin Holder Installation
Step 1: Test fit and daily-use check
- Sit in the driver?s seat and reach for the intended location with your eyes forward.
- Confirm you can insert and remove coins one-handed without bumping the shifter or steering wheel.
- Open/close nearby lids (console lid, cup holder cover) to ensure no interference.
- For adhesive models: lightly hold it in place and simulate a few ?grab coin? movements.
Step 2: Clean the surface the right way
- Wipe the area with a dry microfiber to remove dust.
- Apply isopropyl alcohol to a clean microfiber (don?t soak the panel) and wipe in one direction.
- Let it air-dry completely for 1?2 minutes.
Tip: If the area has dressing or shine product, you may need two IPA passes. Interior protectants are adhesive killers.
Step 3: Create a placement guide (prevents crooked installs)
- Use painter?s tape to mark the top edge and side edge where the coin holder will sit.
- Step back and look from the driver?s seat and passenger side to check alignment.
- Adjust the tape until it looks straight relative to nearby trim lines.
Step 4: Adjust for the season (temperature and curing)
- Hot weather install (above 80�F / 27�C): Work in the shade or garage. Let the interior cool slightly so the tape doesn?t feel overly soft during placement.
- Cold weather install (below 60�F / 16�C): Warm the surface and the coin holder adhesive backing with a hair dryer on low for 20?40 seconds. The plastic should feel slightly warm?not hot.
- Humid conditions: Ensure the surface is fully dry and avoid installing right after a wet detail.
Step 5: Apply tape (if your coin holder doesn?t include quality adhesive)
- Use automotive-grade tape sized to cover as much of the mounting footprint as possible without squeezing out past the edges.
- Press the tape firmly onto the coin holder first, then peel the backing.
- Avoid touching the exposed adhesive with your fingers.
Best practice: More contact area beats thicker tape. Thin, high-strength tape usually performs better than thick, squishy foam in heat.
Step 6: Mount with pressure and patience
- Align the coin holder using your painter?s tape guides.
- Place it gently first?don?t commit until it?s straight.
- Once aligned, press firmly for 30?60 seconds, focusing on the edges and center.
- If possible, apply steady pressure again after 10 minutes.
Cure time: Most automotive tapes reach maximum bond after 24?72 hours. During that window, avoid pulling on the coin holder or loading it with heavy stacks of coins.
Step 7: Rattle-proofing and coin management
- Don?t overload: keep ?daily use? coins accessible and store extras elsewhere.
- If coins click against plastic, add a thin felt strip inside the coin channel (many organizers include this; if not, you can cut your own).
- Check fit monthly: a quick press test prevents small looseness from becoming a full failure.
Product Recommendations and Comparisons (What Actually Works)
There are hundreds of options, but most fall into a few performance tiers. Here?s what tends to work best for interior longevity.
Adhesive: 3M VHB vs. generic foam tape
- 3M VHB (recommended): High heat resistance, strong long-term bond, better for textured plastics. Great for permanent or semi-permanent installs.
- Generic foam tape: Often fails in summer heat, especially on curved or textured panels. More likely to leave residue and slide over time.
Coin holder style comparison
- Console insert organizers: Best for lease vehicles or anyone who wants zero adhesive. Downside: must match your console dimensions.
- Vehicle-specific replacement inserts: Cleanest OEM look and typically the most secure. Downside: costs more and requires model-specific sourcing.
- Universal adhesive coin holders: Good if you choose a flat mounting spot and use quality tape. Downside: depends heavily on prep and seasonal conditions.
- Clip-in holders: Convenient and removable. Downside: can scratch trim or loosen from vibration, especially on rough roads.
Seasonal Maintenance: Keep It Secure All Year
Summer checklist
- Park in shade when possible; direct sun accelerates adhesive edge lifting.
- Check for ?creep? (slow sliding). If you notice movement, remove and reinstall with better tape rather than constantly pressing it back.
- Wipe dust around the edges?dirt acts like a wedge that encourages lifting.
Winter checklist
- Avoid yanking coins out aggressively when plastics are cold and stiff.
- If a clip-in holder feels tight, don?t force it?warm the cabin first.
- Inspect for micro-cracks around mounting points, especially on older trim.
Spring/Fall checklist
- Reassess placement after seasonal routines change (toll season, road trip frequency).
- Deep clean the surrounding area?this is a good time to remove, clean, and re-tape if necessary.
Common Mistakes to Avoid
- Installing over protectant or oily residue: Dressings, silicone-based sprays, and even hand lotion oils will sabotage adhesive bonding.
- Mounting on a curve with flat tape: Tape can bridge gaps, creating weak spots that lift first.
- Ignoring cure time: Loading the holder with coins immediately is a common reason it detaches in the first week.
- Using super glue or harsh adhesives: They can permanently damage interior plastics, stain vinyl, and create a brittle bond that fails with temperature swings.
- Placing near airbags: Any accessory in a deployment path is a safety hazard.
- Ripping it off during removal: This can pull soft-touch coatings or leave stubborn adhesive. Use heat and adhesive remover instead.
Safe Removal and Reinstallation (Without Damaging Trim)
- Warm the coin holder and surrounding area with a hair dryer on low for 30?60 seconds.
- Gently work a plastic trim tool or floss/fishing line behind the holder to separate the adhesive.
- Roll remaining adhesive off with your thumb or use an interior-safe adhesive remover on a microfiber.
- Clean with IPA, let dry, then reinstall with fresh tape.
Tip: If the surface is soft-touch, test any adhesive remover in a hidden spot first.
FAQ
What?s the best temperature to install an adhesive coin holder?
Aim for a cabin temperature around 65?85�F (18?29�C). Below that, bonding is weaker unless you warm the surface. In extreme heat, work in shade so the tape doesn?t feel overly soft during alignment.
Will 3M VHB damage my interior when I remove it?
It can if you pull it off cold or too aggressively, especially on soft-touch coatings. Use gentle heat, separate slowly, and remove residue with an interior-safe adhesive remover.
Where should I avoid installing a coin holder?
Avoid airbag zones (dash, A-pillars, steering wheel area), the top of the dashboard near the windshield, and anywhere it can interfere with shifter movement, parking brake operation, or essential controls.
My coin holder keeps rattling?how do I fix it?
First, reduce coin load. Then add thin felt or a small piece of foam inside the channels to dampen movement. If the holder itself is loose, it needs a stronger mount (better tape, more contact area, or a different location).
Is a clip-in coin holder safer than adhesive?
Neither is automatically ?safer.? Clip-ins avoid adhesive residue but can scratch trim or stress plastic in cold weather. Adhesive mounts can be very secure if installed correctly and kept out of extreme heat zones.
Can I install a coin holder on leather or vinyl?
It?s not recommended to use adhesives on leather or vinyl-wrapped surfaces because it can stain or lift material during removal. A console insert organizer or vehicle-specific replacement insert is usually a better choice.
Next Steps: A Cleaner, Quieter Interior Upgrade
Pick the right coin holder type for your climate, choose a safe placement, and take your time on prep?those three steps prevent nearly every problem people experience with interior accessories. If you?re installing in winter, warm the surface. If you?re installing in summer, avoid direct sun and let the adhesive cure before loading it up.
Want more small upgrades that feel like big improvements? Explore more interior install and protection guides on carinteriormix.com.